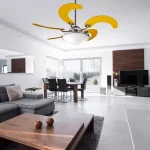
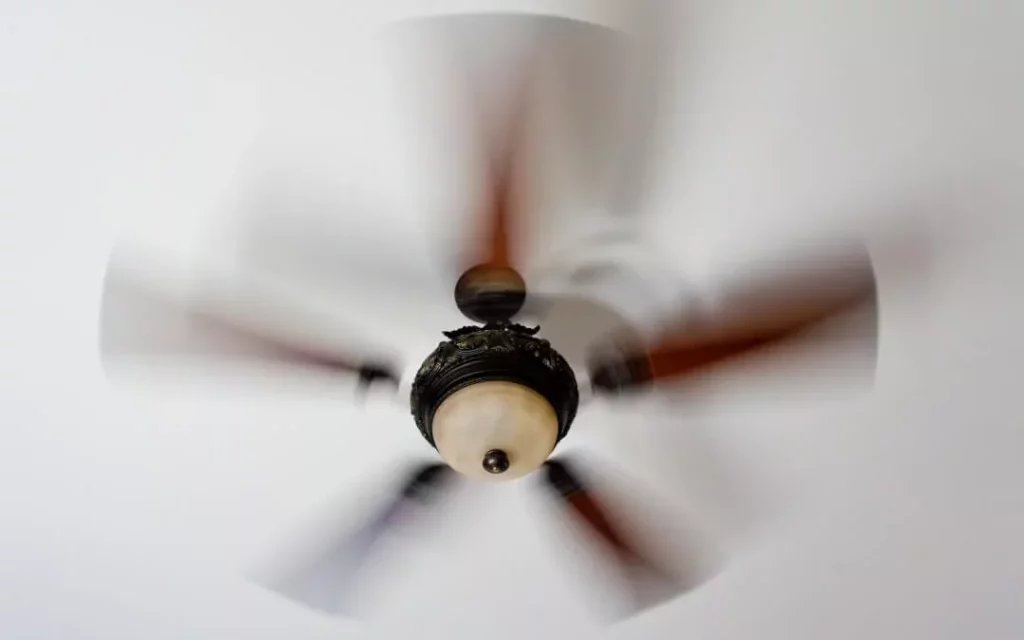
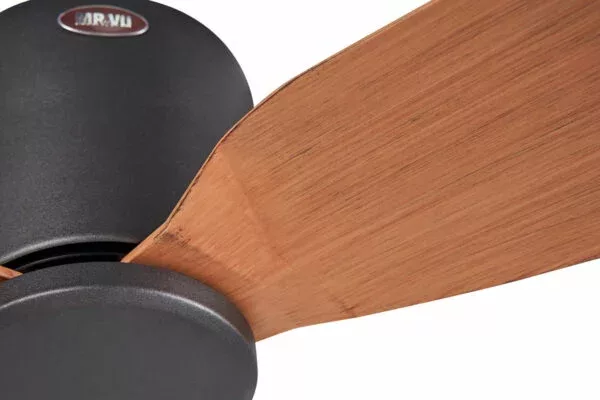
Ceiling fans are shaken when operating, which will reduce the coolness, causing discomfort to the people in the room. For many people, this is also an “obsession” because of the fear that the fan may fall at any moment.
There are necessary steps when the ceiling fan is shaking.
When detecting that the ceiling fan shows signs of shaking and instability, you need to find a way to fix it immediately, but not let this situation last because it will directly affect the process of using the fan in the common space as well as product life.
Step 1
Stop using the fan to check for errors to ensure safety. Do not try to use it because it is easy to damage the fan further, and may even cause the fan to fall, causing many dangers.
Step 2
Consider the cause and find the appropriate “cure.”
Step 3
Once the repair is finished, restart the fan to see if the fan shaking phenomenon persists. If the problem persists, you should contact a professional ceiling fan repair center to fix it in time.
Faulty fan shaking and vibration is caused for many different reasons: it may be due to incorrect installation techniques, or due to the use process.
Mr. Vu decorative ceiling fan would like to send you some basic steps to handle when the fan is shaken as follows
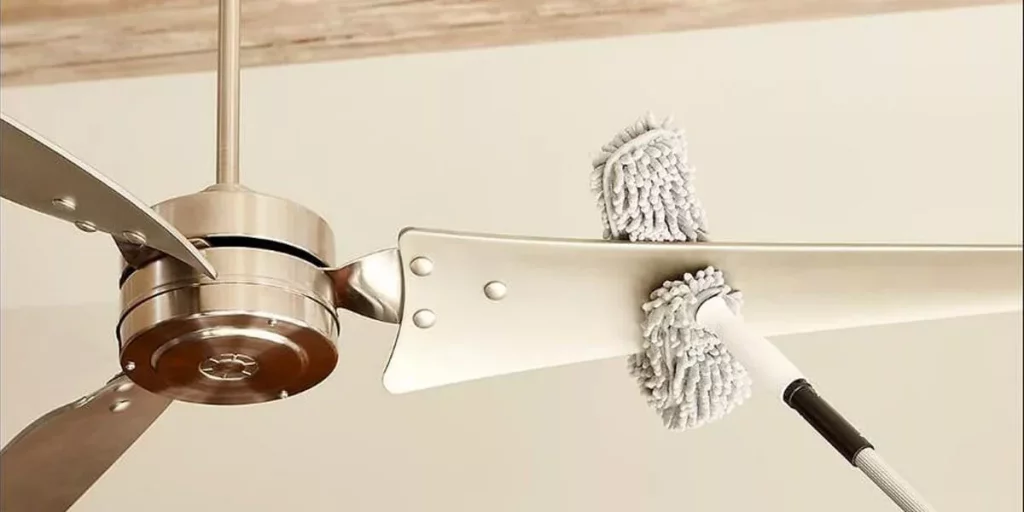
Step 1: Clean the fan
After a period of use, maybe a few months or even a few years, the fan is very susceptible to dirt. Layers of dust on top of each other will create an extra weight for the fan. This can lead to an imbalance of weight on the fan components.
You need to clean the fan periodically, every 6 months. If the house is near the road, it can be every 3 months. If you buy a high-class ceiling fan at Mr. Vu, you absolutely do not have to worry about this problem because the company policy has an automatic periodic maintenance schedule.
- Note to clean the fan blades and fan parts.
Step 2: Tighten the screws on the fan:
First, we will remove the bowl on the ceiling (called the Canopy) -> use a screwdriver to tighten the screws between the hanger bracket and the ceiling. Next, re-tighten all the screws on the fan. Even just a loose screw will cause the fan to shake when spinning.
In addition, when screwing back, we should also clean those screws because if they have not been used for a long time, dust can accumulate there, creating an imbalance in weight.
Step 3: Measure the distance once more.
Use a tape measure to measure the distance from the ceiling to the fan blade — note the measurement at the end of the blade (the furthest point from the housing). Measure each blade in turn. If any blade has a larger gap, that blade needs to be handled.
First, we can adjust the arm part, using a slight force to adjust the arm to have the same distance as the other blades. If we have processed the arm and arm adjustment and it still does not work, we will have to use the blade weight sticker (available in the fan box purchased at Mr. Vu).
Step 4: Use the blade balance accessory.
The blade scale accessory includes 2 items: a U-shaped blade clip to locate and a blade scale sticker available with adhesive tape to fix on the blade.
First, we use the U-shaped blade clip in the middle of the blade to be processed as mentioned above (the blade has a different distance from the rest of the blades). Start clamping that blade from the middle position to the end position of the blade (the position furthest from the housing motor). Clamp to any position, turn on the fan to check. If at that position, the fan is stationary and not shaken when operating, use a sticker to fix it, noting the stick in the middle.
In that case, when using the ruler without seeing a strange distance between the blades, we will use the U-clip to test. Clamp the U-shaped blade for each blade. Also note the clamp at the middle position of the blade to the end of the blade (the furthest position from the housing motor). Clamp each blade in turn.
- Note: with each clamp, the fan must be turned on to check the vibration. At any position where there is no shaking, we will use the blade weight sticker to stick it on it. Note the paste in the middle. In cases where the fan is faulty due to the manufacturer’s fault, it is necessary to use up to 2 or 3 gluing positions.